抛砖引玉,教你如何使用CLIProxyAPI来自定义GPT画图模型
昨天,在群里小伙伴的提醒下,我了解到通过反代 Codex
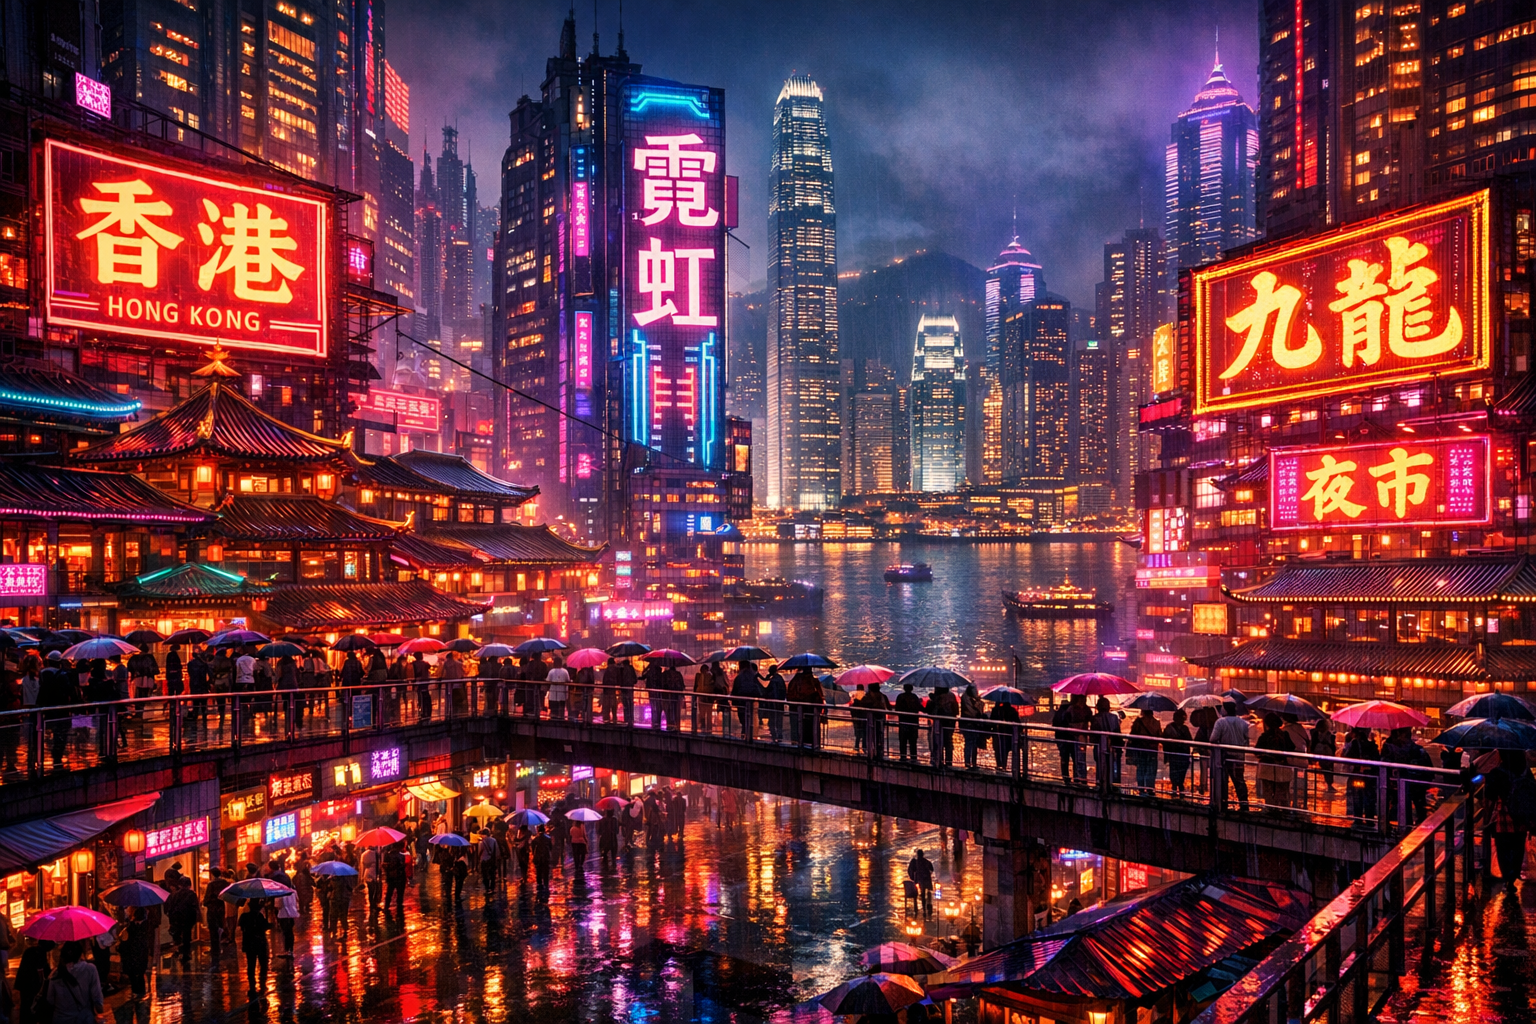
也可以进行图片的生成和编辑了。随即我进行了一番实验,使用
GPT-Image-1.5 成功生成了如下图片:
与 Gemini 使用专用图片模型(如 NanoBanana 系列)的逻辑不同,在 Codex
中,生图功能是通过 调用工具
实现的,并不依赖特定的模型名称。
基于这一特性,我们可以利用 CLIProxyAPI 的
模型别名 配合 Payload 重写
功能,自定义一套专属的“文生图模型”。下面我分享一下自己的配置思路和使用方法,希望能起到抛砖引玉的作用。
PS:下文前提是已经安装配置好 CLIProxyAPI 并添加了 Codex
的 OAuth 凭证。
1. 配置文件修改
在 CLIProxyAPI 的配置文件中添加以下内容。这里我们将
gpt-5.4-mini 映射为不同分辨率的生图模型,并通过 Payload
强制开启 image_generation 工具。
1
2
3
4
5
6
7
8
9
10
11
12
13
14
15
16
17
18
19
20
21
22
23
24
25
26
27
28
29
30
31
32
| oauth-model-alias:
codex:
- name: gpt-5.4-mini
alias: gpt-image-1024x1024
fork: true
- name: gpt-5.4-mini
alias: gpt-image-1024x1536
fork: true
- name: gpt-5.4-mini
alias: gpt-image-1536x1024
fork: true
payload:
override-raw:
- models:
- name: gpt-image-1024x1024
protocol: codex
params:
tools: '[{"type":"image_generation", "size": "1024x1024", "quality": "high", "background": "auto"}]'
tool_choice: '{"type": "image_generation"}'
- models:
- name: gpt-image-1024x1536
protocol: codex
params:
tools: '[{"type":"image_generation", "size": "1024x1536", "quality": "high", "background": "auto"}]'
tool_choice: '{"type": "image_generation"}'
- models:
- name: gpt-image-1536x1024
protocol: codex
params:
tools: '[{"type":"image_generation", "size": "1536x1024", "quality": "high", "background": "auto"}]'
tool_choice: '{"type": "image_generation"}'
|
添加完成后,我们就可以直接调用
gpt-image-1024x1024、gpt-image-1024x1536 和
gpt-image-1536x1024 这三个自定义模型了。
2. 快速调用脚本 (PowerShell)
由于目前我还未找到好用的生图客户端,我编写了一个简单的 Windows
PowerShell 脚本供大家参考。
使用方法:
- 修改脚本前四行的
apiUrl、apiKey
等参数。
- 将完整脚本粘贴至 PowerShell 窗口运行。
- 等待约数十秒,即可在当前运行路径下看到生成的图片。
1
2
3
4
5
6
7
8
9
10
11
12
13
14
15
16
17
18
19
20
21
22
23
24
25
26
27
28
29
30
31
32
33
34
35
36
37
38
39
40
41
42
43
44
45
46
47
48
49
50
51
52
53
54
55
56
57
58
59
60
61
62
63
64
65
66
67
68
69
70
71
72
73
74
75
76
77
78
79
80
81
82
83
84
85
86
87
88
89
90
91
92
93
94
95
96
97
98
99
100
101
102
103
104
105
106
107
108
109
110
111
112
113
114
115
116
117
118
119
120
121
122
123
124
125
126
127
128
129
130
131
132
133
134
135
136
137
| $apiUrl = "https://你的CLIProxyAPI地址/v1/responses"
$apiKey = "你的CLIProxyAPI的apikey"
$model = "gpt-image-1536x1024"
$text = "画一张赛博朋克的香港,要有汉字"
$bodyObject = @{
model = $model
instructions = "You are a helpful assistant."
input = @(
@{
type = "message"
role = "user"
content = @(
@{
type = "input_text"
text = $text
}
)
}
)
parallel_tool_calls = $true
reasoning = @{
effort = "high"
summary = "auto"
}
stream = $true
store = $false
include = @(
"reasoning.encrypted_content"
)
}
$body = $bodyObject | ConvertTo-Json -Depth 100 -Compress
$outBase = "generated"
$utf8NoBom = New-Object System.Text.UTF8Encoding($false)
$tempBodyFile = Join-Path $env:TEMP ("response-body-" + [guid]::NewGuid().ToString("N") + ".json")
[System.IO.File]::WriteAllText($tempBodyFile, $body, $utf8NoBom)
try {
curl.exe --silent --show-error --no-buffer `
-X POST $apiUrl `
-H "Content-Type: application/json" `
-H "Authorization: Bearer $apiKey" `
--data-binary ("@" + $tempBodyFile) |
ForEach-Object -Begin {
$eventType = $null
$dataLines = [System.Collections.Generic.List[string]]::new()
function Save-Bytes {
param([string]$Path, [string]$Base64)
[System.IO.File]::WriteAllBytes($Path, [Convert]::FromBase64String($Base64))
Write-Host "Saved $Path"
}
function Save-ImageGenerationCallResult {
param([object]$ImageCall)
if (-not $ImageCall) { return }
if ($ImageCall.type -ne "image_generation_call") { return }
if (-not $ImageCall.result) { return }
$ext = if ($ImageCall.output_format) { [string]$ImageCall.output_format } else { "png" }
$path = Join-Path (Get-Location) "$outBase.$ext"
Save-Bytes -Path $path -Base64 ([string]$ImageCall.result)
}
function ConvertFrom-JsonCompat {
param([string]$Json)
if ($PSVersionTable.PSVersion.Major -ge 6) {
return $Json | ConvertFrom-Json -Depth 100
}
return $Json | ConvertFrom-Json
}
function Flush-SseEvent {
param([string]$Type, [System.Collections.Generic.List[string]]$DataLines)
if (-not $Type -or $DataLines.Count -eq 0) { return }
$json = ($DataLines -join "`n").Trim()
if (-not $json -or $json -eq "[DONE]") { return }
try {
$obj = ConvertFrom-JsonCompat -Json $json
} catch {
return
}
switch ($Type) {
"response.output_item.done" {
Save-ImageGenerationCallResult -ImageCall $obj.item
}
"response.completed" {
$imageCall = @(
$obj.response.output |
Where-Object { $_.type -eq "image_generation_call" -and $_.result }
) | Select-Object -First 1
Save-ImageGenerationCallResult -ImageCall $imageCall
}
}
}
} -Process {
$line = [string]$_
if ($line.StartsWith("event:")) {
if ($eventType -or $dataLines.Count -gt 0) {
Flush-SseEvent -Type $eventType -DataLines $dataLines
$dataLines = [System.Collections.Generic.List[string]]::new()
}
$eventType = $line.Substring(6).Trim()
return
}
if ($line.StartsWith("data:")) {
$dataLines.Add($line.Substring(5).TrimStart())
return
}
if ([string]::IsNullOrWhiteSpace($line)) {
Flush-SseEvent -Type $eventType -DataLines $dataLines
$eventType = $null
$dataLines = [System.Collections.Generic.List[string]]::new()
}
} -End {
Flush-SseEvent -Type $eventType -DataLines $dataLines
}
}
finally {
if (Test-Path -LiteralPath $tempBodyFile) {
Remove-Item -LiteralPath $tempBodyFile -Force
}
}
|
相关资源
如需了解更详细的参数调整可以参考 OpenAI
官方文档